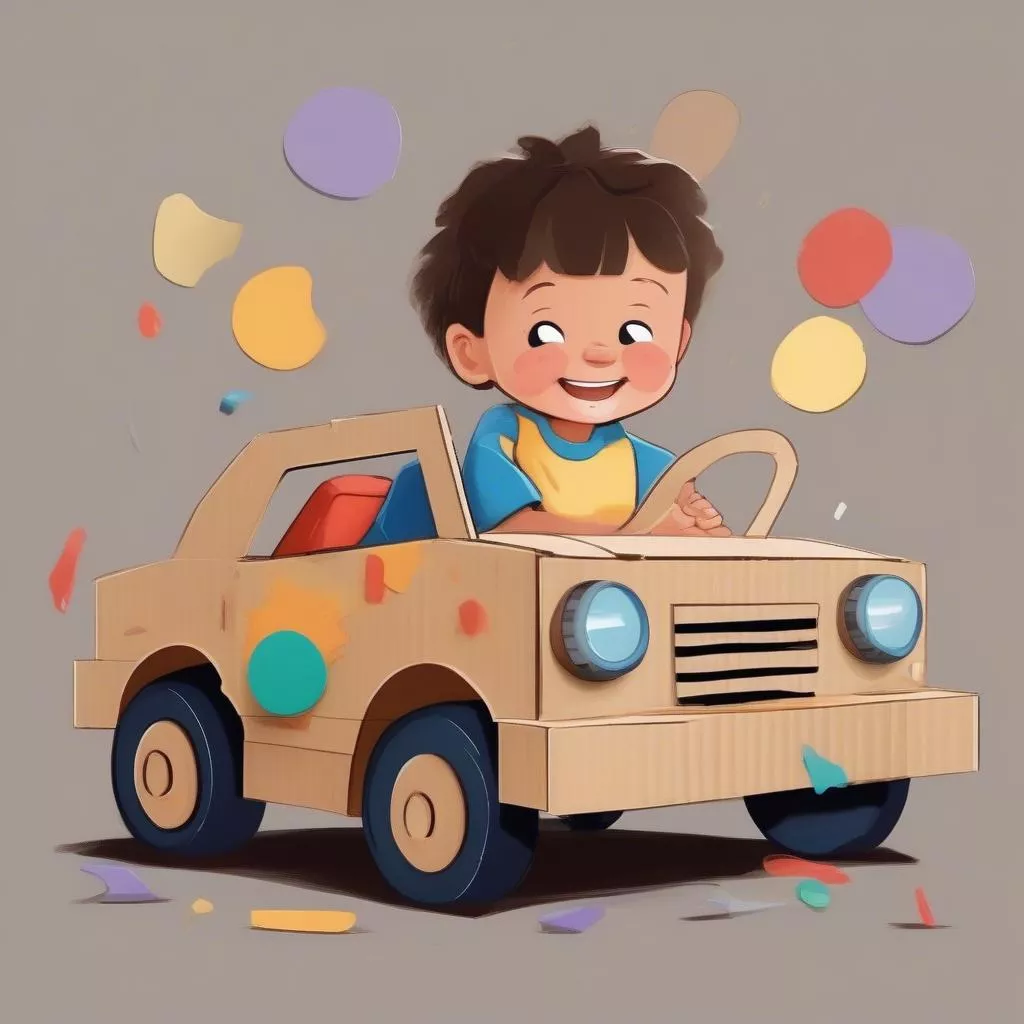
“Children are like buds on a branch – Knowing how to eat, sleep, and study is good.” This old proverb holds true. However, besides studying, letting children play freely and unleash their creativity is also crucial. One fun activity parents can do with their children is making handmade toys, such as a cardboard car.
Why Choose to Make a Cardboard Car?
Are you wondering which toy is both safe and sparks your child’s imagination? Making a car out of cardboard is an excellent solution.
Advantages:
- Absolutely Safe: Cardboard is a safe material, free of harmful chemicals, protecting your child’s health.
- Cost-Effective: Instead of spending money on expensive toys, you can use old cardboard boxes at home to create unique cars.
- Promotes Creativity: Children can unleash their creativity, decorating the car to their liking, thereby developing their thinking and aesthetic sense.
- Strengthens Family Bonds: What’s better than parents and children making toys together, having fun, and strengthening family bonds?
Disadvantages:
- Low Durability: Because it’s made of cardboard, the car won’t be as durable as commercially available toys.
- Requires Meticulousness: The process of making a cardboard car requires meticulousness and dexterity.
Simple Instructions on How to Make a Cardboard Car
Materials Needed
To create a “super cool” car for your child, you’ll need the following “ingredients”:
- Cardboard (a slightly sturdier type would be better)
- Glue, double-sided tape
- Pencil, ruler, scissors
- Plastic bottle caps (to make wheels)
- Paint, colored paper, decorative stickers
Steps
Step 1: Shape the Car Body:
- On the cardboard, draw the shape of the car your child likes. You can refer to car models online or let your child freely create.
- Use scissors to cut along the drawing to create the car parts: body, front, roof…
- Use tape or glue to fix the parts together.
Step 2: Make the Wheels:
- Use plastic bottle caps as wheels. You can paint the wheels for a more vibrant look.
- Use a nail or sharp object to poke a small hole in the center of each wheel.
- Cut 4 small bamboo skewers, slightly longer than the width of the car body, to act as axles.
- Thread the skewers through the holes in the wheels and secure them to the car body with glue or tape.
Step 3: Decorate the Car:
- This is the step that “challenges” your and your child’s artistic abilities. Let your child freely create, color, and paste stickers as they like to create a “one-of-a-kind” car.
Cardboard Car
Important Notes When Making a Cardboard Car
- Choose sturdy cardboard for a more durable car.
- Be careful when using glue to avoid spills.
- Guide your child to use safety scissors to prevent injuries.
Frequently Asked Questions
How to Make the Car Move?
You can add a mini motor to the car by purchasing it at toy stores or online.
Can Other Materials Be Used Instead of Cardboard?
Besides cardboard, you can use other materials such as plastic bottles, milk cartons… to shape the car.
 Plastic Bottle Car
Conclusion
Making a cardboard car is both beneficial and fun. Hopefully, this article has provided you with useful information to create “super cool” cars with your child. Good luck!
Don’t forget to visit XE TẢI HÀ NỘI for more useful information about vehicles and technology!