Feeling uneasy when reversing in tight spaces or constantly worried about blind spots? A backup camera is the solution! This guide reveals a simple yet effective DIY installation method, making reversing as easy as pie!
Why Install a Backup Camera?
1. Enhanced Safety While Reversing
According to the American Automobile Association (AAA), thousands of accidents occur annually due to blind spots while reversing. Installing a backup camera helps you:
- Expand Your Field of Vision: A backup camera acts as a “third eye,” providing a clear view of the area behind your vehicle, eliminating blind spots.
- Detect Obstacles: From large obstructions like poles and walls to smaller objects like rocks and children, the backup camera captures and displays everything clearly on the screen.
- Reverse with Precision: With guiding lines on the screen, you can easily judge distances and steering angles, making reversing more accurate and safer than ever.
2. Enhance Your Car’s Aesthetics
Besides safety, a backup camera elevates your car’s appearance. A neatly installed camera adds a modern and sophisticated touch.
Step-by-Step Guide to Installing a Backup Camera
Tools Needed
- Backup camera
- Android DVD head unit (if your car doesn’t have one)
- Camera connection cables
- Camera power supply (if needed)
- Screwdrivers, electrical tape, pliers, etc.
Installation Steps
Step 1: Install the Backup Camera
- Determine the Installation Location: The ideal location is in the center of the rear bumper, just above the license plate.
- Drill Holes and Secure the Camera: Use an appropriate drill bit to drill holes for the camera mount (if necessary).
- Connect the Camera Cables: Connect the camera’s power and signal cables to the corresponding wires in your car.
Step 2: Connect the Camera to the Monitor
- Power Cable: Connect the camera’s power cable to the reverse light wire. This allows the camera to activate automatically when you shift into reverse.
- Signal Cable: Connect the camera’s signal cable to the AV IN port on your Android DVD head unit.
Step 3: Test and Finalize
- Start the car and shift into reverse to check if the camera is working.
- Adjust the camera angle (if needed) for optimal visibility.
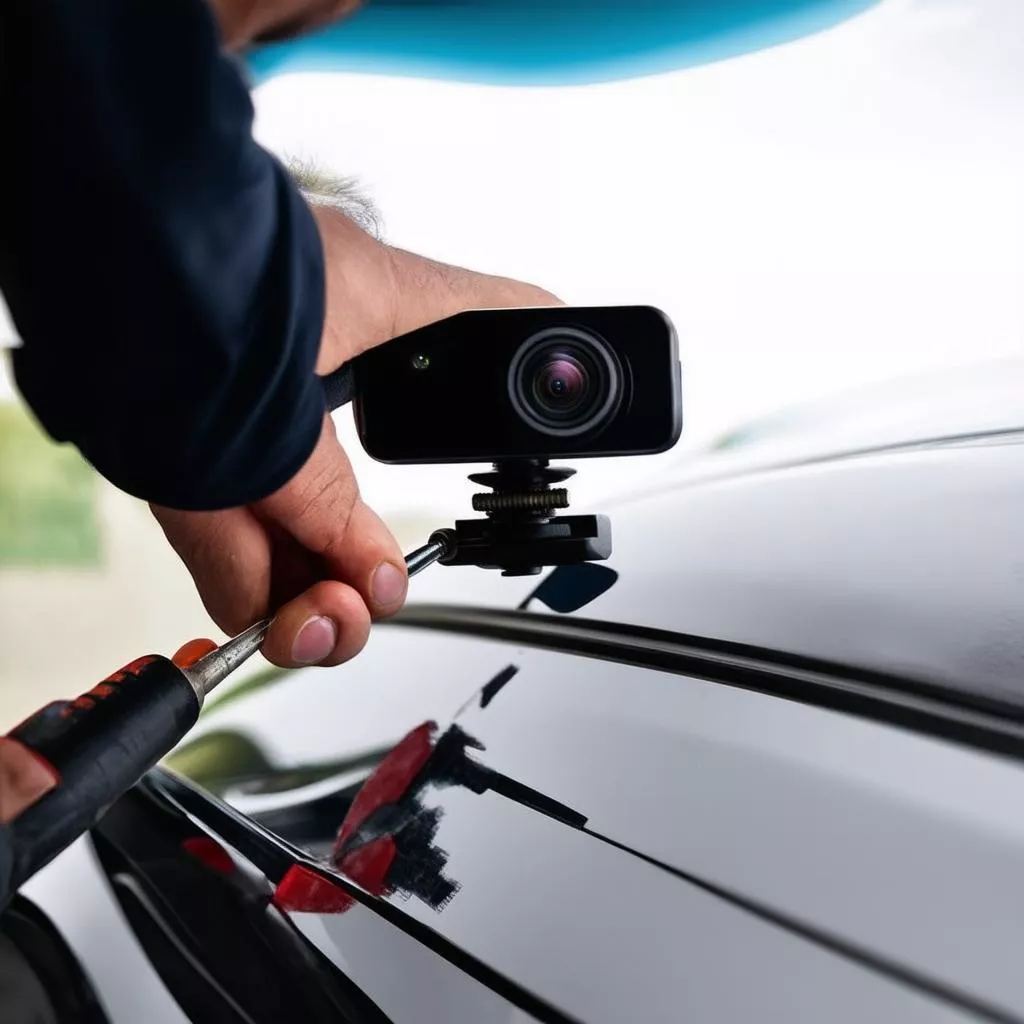
Connecting a car backup camera
Frequently Asked Questions About Backup Camera Installation
1. Is Installing a Backup Camera Difficult?
DIY installation isn’t overly complicated. However, if you lack technical knowledge, it’s best to take your car to a reputable garage for professional installation.
2. Which Type of Backup Camera Should I Choose?
Choose a genuine camera with high resolution, a wide viewing angle, and good waterproofing. Consider reputable brands like Sony, Vietmap, HP, etc.
3. How Much Does Backup Camera Installation Cost?
Depending on the camera type and installation location, the cost can range from a few hundred thousand to several million VND.
Conclusion
We hope this article provided helpful information on how to install a backup camera. Installing a backup camera is a worthwhile investment to ensure your safety and your family’s on every journey.
Also, check out other articles about car accessories:
Contact XE TẢI HÀ NỘI Dealership or Hotline: 0968 239 999 for 24/7 advice and support on truck-related products and services!